
I was lucky enough to have a linocut workshop with Christopher Brown just before christmas. Go and check his work out if you haven't seen it. I have always loved the look of linocut and woodcut but never got around to plucking up the courage to try it. After the brilliant workshop I am hooked! The process takes a lot of time and requires some patience but as I am a beginner I may speed up with practice.
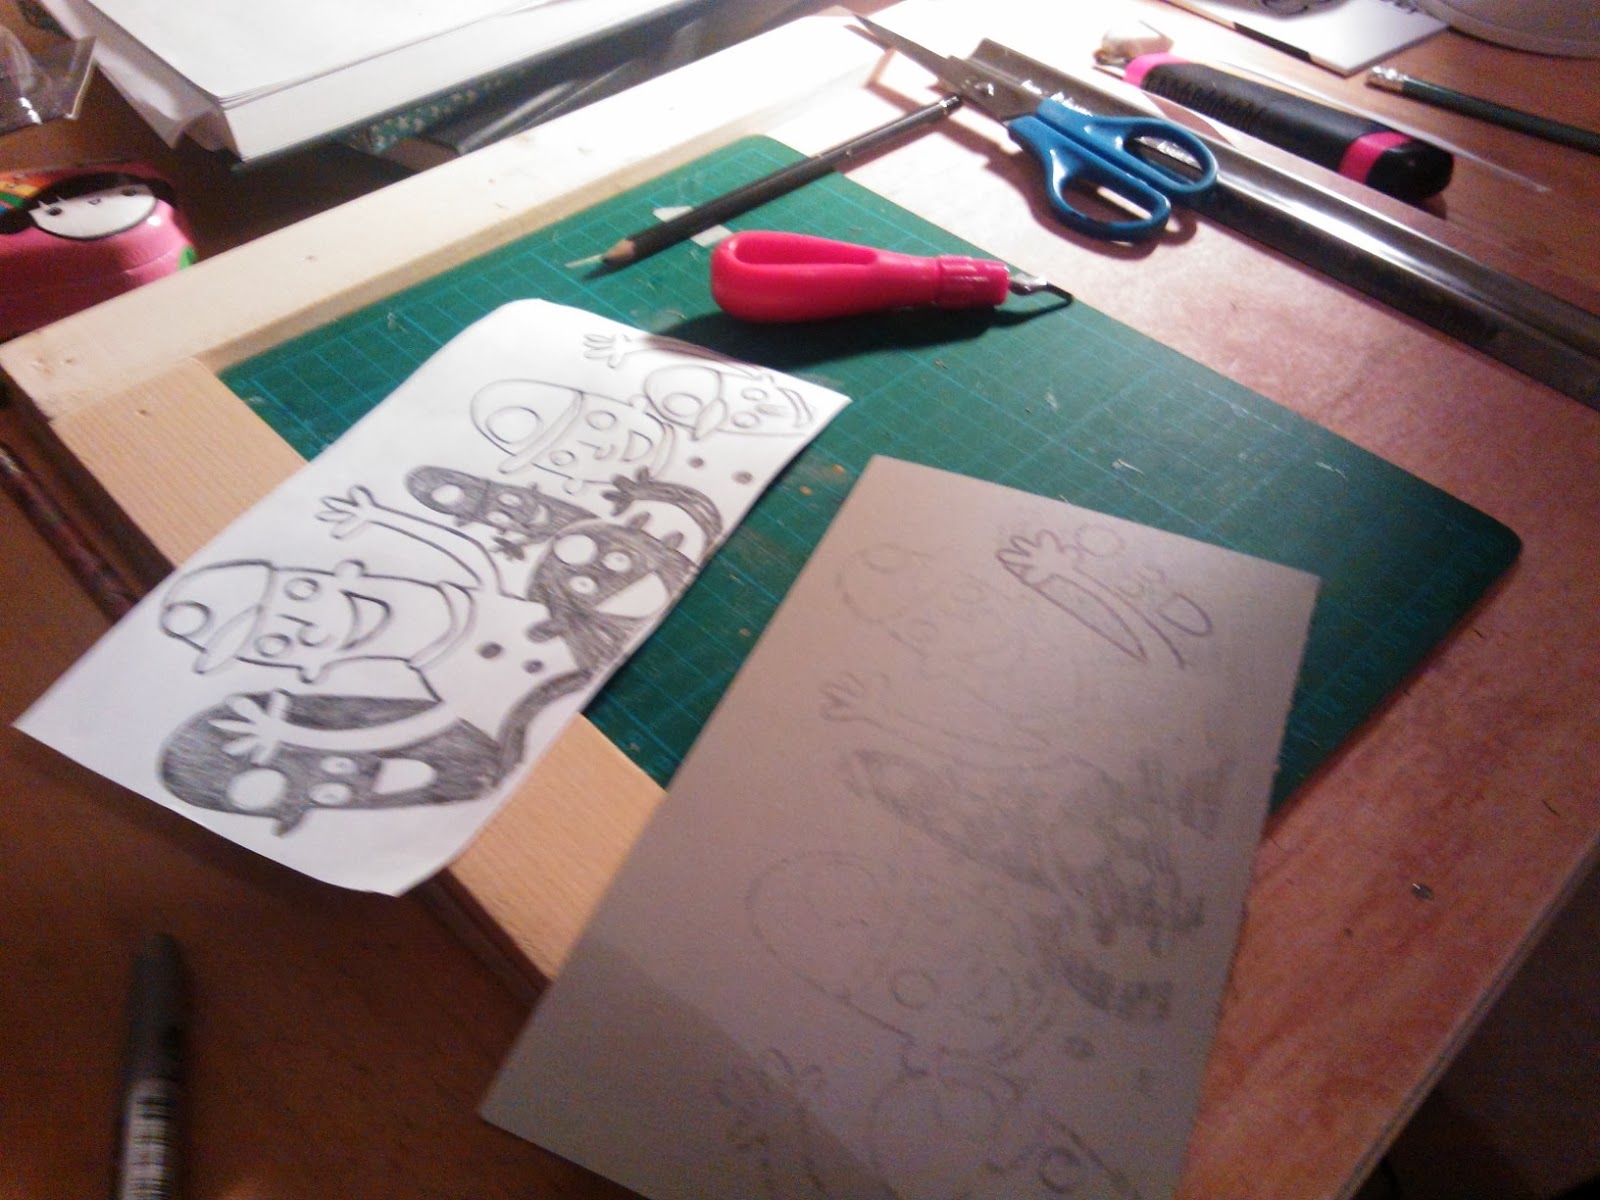
Step one. Choose a design, start with something quite simple until you get the feel for it! Next you need to transfer your drawing by using tracing paper, or you can draw straight onto the lino, be brave!

Step two. Clear a nice working space and begin to cut using special linocutting tools tat are cheap to get hold of. I would suggest going across like you are spreading butter, rather than digging down. I took the picture above FOUR HOURS IN, yikes. Make sure you are comfortable and have good back support, try not to hunch over as you will pay for it later!

Here is the finished carving. Happy jolly miners waving. A word of caution...be VERY careful when cutting and always cut away from yourself. There are various hand guards you can buy but nothing beats a bit of common sense and not rushing. On that note, if you slip and make a cutting mistake there is a product you can buy that is like a filler, again, just take you time and BE CALM.

Step 3. Put paper down on your nice expensive John Lewis table. I probably should get a proper arts and crafts table cloth but Paul isn't in so I can get away with it! I prepared my work space accordingly, a spare kitchen tile, useful masking tape, water based block ink, a roller, a spoon, and A4 paper to register your art.

Step 4. The fun bit! Squodge a blob of ink onto the tile, mmm smells nice. Manically roll your roller through the ink, ensuring a good even coating. Roll over your lino cut, it's very simple. Next place you design on the A4 paper, using it as a guide you can line up your 'nice' paper that you will be printing onto on top. Take a spoon and rub gently all over the paper that is sitting on top of your linocut. Be careful not to press too hard as you can rip the paper. Then....hold your breath, and peel the paper away for the big reveal.....

You never quite know which areas you have pressed hard onto so you get a mottled effect, this is what I like about this type of printing. Have lots of different papers so you can experiment, go wild!

Here is the print and the linocut together. Last thing..don't forget that your design comes out mirror image.